Bathtub Reglazing in New York City
Licensed & Insured · Free Estimates
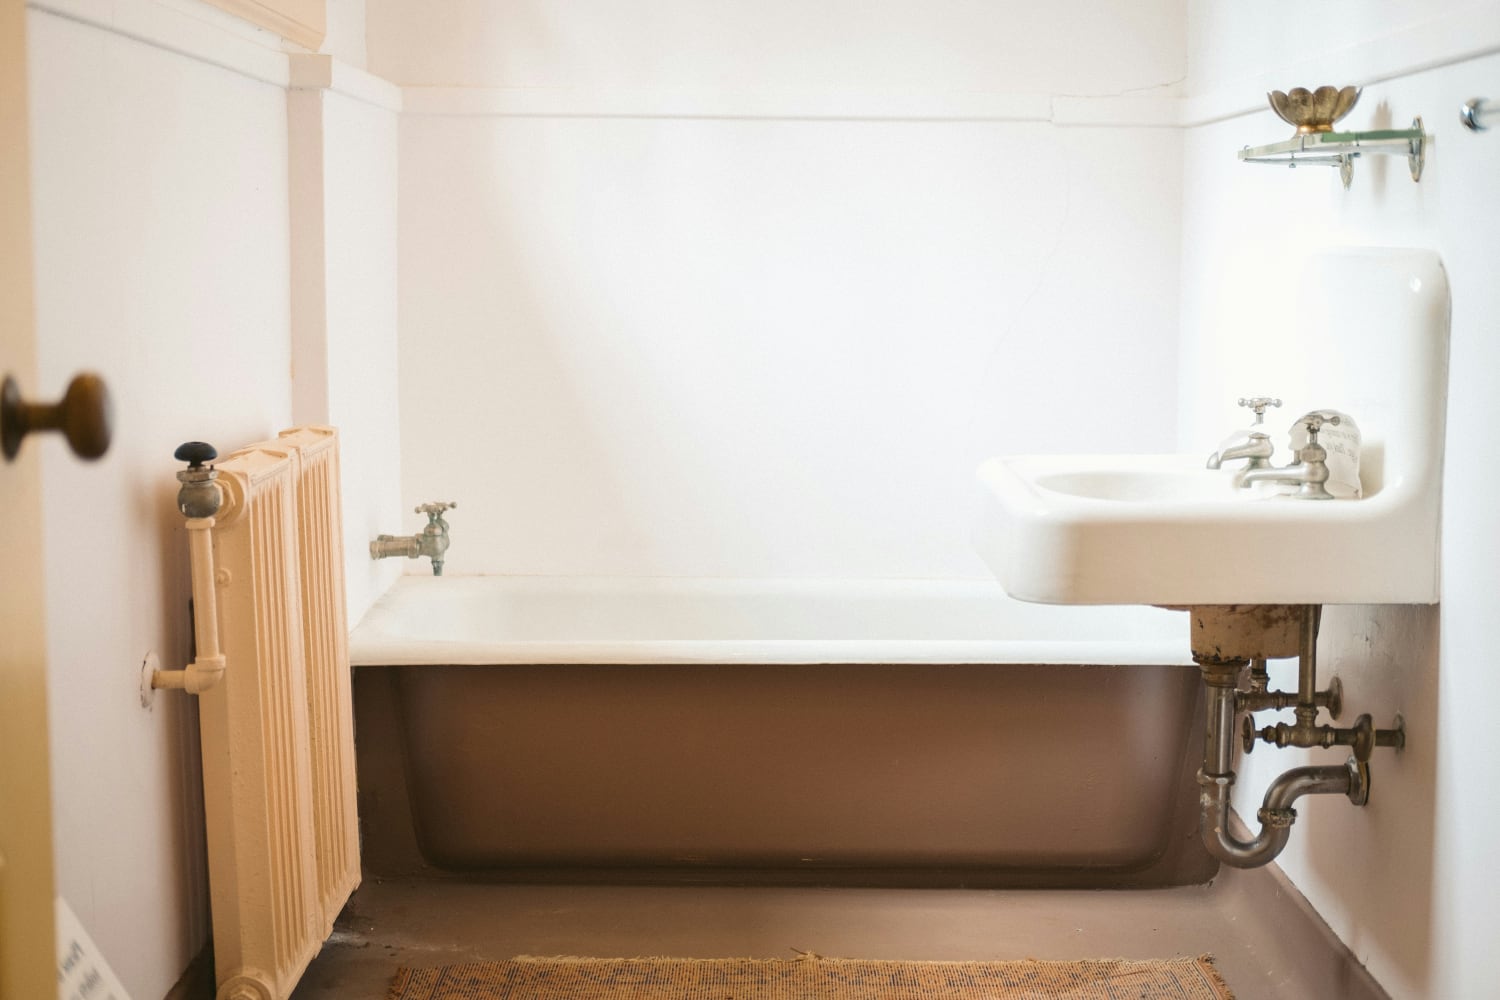
Preparing Your Bathtub for Refinishing: What to Do Before Our Master Arrives
 Artem Tugbaev
Last updated:
Aug. 17, 2025
Artem Tugbaev
Last updated:
Aug. 17, 2025

As experienced bathtub refinishing professionals in New York, we know that proper preparation is half the battle for a flawless result. These simple yet crucial steps, completed by you before our arrival, will ensure optimal material adhesion and the longevity of your new finish, making the entire process smoother and more efficient.
1. Clear Your Bathtub and the Surrounding Area
- Remove all personal items: Please remove all personal hygiene products (shampoos, gels, soaps, sponges), toys, bath mats, shaving gear, and any other small items from inside the tub and from shelves or ledges around it.
- Clear the access area: Move any chairs, laundry baskets, basins, stools, or other objects that might obstruct our master’s free access to all sides of the tub. For high-quality work, we need clear space around the tub’s edges and underneath it.
2. Ensure Ample Lighting
- Sufficient light: Please ensure there is adequate lighting in your bathroom. If natural light is limited, turn on all available light fixtures. Good lighting allows our master to perform thorough preparatory work (sanding, degreasing) and apply the refinishing material evenly, preventing any imperfections.
3. Check the Room Temperature
- Optimal temperature: It is extremely important that the temperature in your bathroom is no lower than 68°F. This is critically vital for the proper curing and polymerization of the refinishing material, which directly impacts the strength, durability, and aesthetic appearance of the new finish. If the room is cool, please turn up your heating in advance.
4. Prepare for Ventilation
- Ready for airing: After the refinishing material has been applied, good ventilation will be required in the bathroom. Please ensure that a window or the bathroom door can be opened to allow for effective air circulation. While modern materials have minimal odor, proper ventilation helps dissipate any fumes and significantly speeds up the drying and curing process.
5. Protect Surfaces (Optional, but Recommended)
- Cover furniture and fixtures: Our masters always use protective films for adjacent surfaces (such as walls and floors) to prevent any material from splashing. Nevertheless, for your peace of mind and added protection, you may wish to cover nearby furniture, your sink, or toilet in advance.
6. Pets and Children
- Restrict access: During the refinishing work and especially during the tub’s drying period (which for our material requires 24 hours for full cure), we strongly recommend restricting access for pets and small children to the bathroom. This is crucial for their safety (materials may be irritating until fully cured) and to prevent accidental damage to the freshly applied coating (paw prints, adhering fur, or displacement of the material).
Important Note: Bathroom Cleaning
- After full cure: We recommend performing a thorough wet cleaning of your bathroom only after the new coating has fully cured and polymerized (after 24 hours). At that point, you can safely clean up any dust generated during the tub preparation without harming the fresh finish. Wet cleaning immediately before our master arrives is not necessary, as the process of stripping the old coating will generate new dust.
By following these simple recommendations, you will greatly assist our masters and ensure an ideal refinishing result for your bathtub! Should you have any questions about preparation or wish to clarify any details, please do not hesitate to contact us. We are always ready to help!