Bathtub Reglazing in New York City
Licensed & Insured · Free Estimates
A Step-by-Step Guide to the Bathtub Reglazing Process
Want to reglaze your own tub? With a pour-on enamel kit you can get a durable, even finish at home — if you respect the details. Here’s the full process, step by step, so you can reglaze with confidence.
Bathtub reglazing is a project a do-it-yourselfer can take on. Kits and instructions are easy to find. But they don’t always give the best results in looks or durability — because, like any trade, the small details make a big difference, and beginners don’t have a pro’s experience.
Below we walk through the reglazing process and the details that help you avoid mistakes and get a long-lasting, professional-looking finish, even if you’ve never done it before.
Doing it yourself saves you about $150-200 in labor. For some people that’s reason enough — especially if they’re handy. Others just enjoy the challenge and the satisfaction of finishing it. Either way, let’s get into the nuts and bolts.
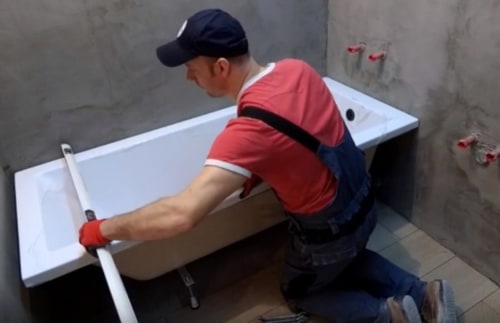
Initial preparation
For the pour-on enamel to work properly, it needs to be at room temperature — bring it indoors the night before and let it sit overnight before you start.
Before you begin, look at how much work space and tub access you have. Clear out as much as possible — mats, rugs, items on the tub’s edge. Remove the drain assembly if you can, so the pour-on material doesn’t run onto it.
Check the walls and ceiling for dust, cobwebs, or peeling paint, wallpaper, or plaster that could fall into the coating before it hardens and ruin the finish.
If the tub has edging against the wall (molding trim or a caulk strip), remove it. Replace it with new edging once the work is done and the glaze is dry, so water can’t seep into the gap.
Wear the right protective gear. Pour-on enamel is a safe, eco-friendly product, but still protect your skin. Use gloves and close-fitting clothes you don’t mind staining — the enamel stains permanently and loose clothing can brush the finish and ruin it.
Don’t forget your shoes — they’ll get stained too. Tie back or cover your hair so strands don’t fall into the enamel. And when stripping the old enamel, wear a respirator to protect your lungs.
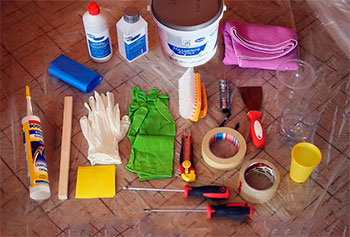
Preparation of materials and tools
Gather everything first. Besides the pour-on enamel, you’ll need a degreaser, clean lint-free rags, a spatula, masking tape, packing or duct tape, a utility knife, a hair dryer, and tools for cleaning the surface (by hand or electric).
Keep your tools at the bathroom entrance — within reach but out of the way.
You’ll also need sandpaper, and the grit depends on the tub material:
- 50-60 grit — steel tubs not reglazed before (the toughest abrasive).
- 40-60 grit — steel and cast iron tubs reglazed before.
- 60-80 grit — cast iron tubs not reglazed before.
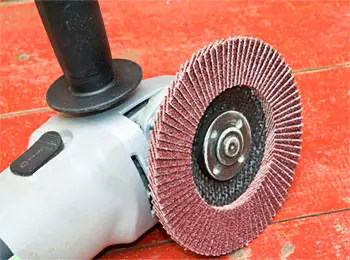
For steel and cast iron tubs, an electric drill with a sanding disc speeds things up considerably.
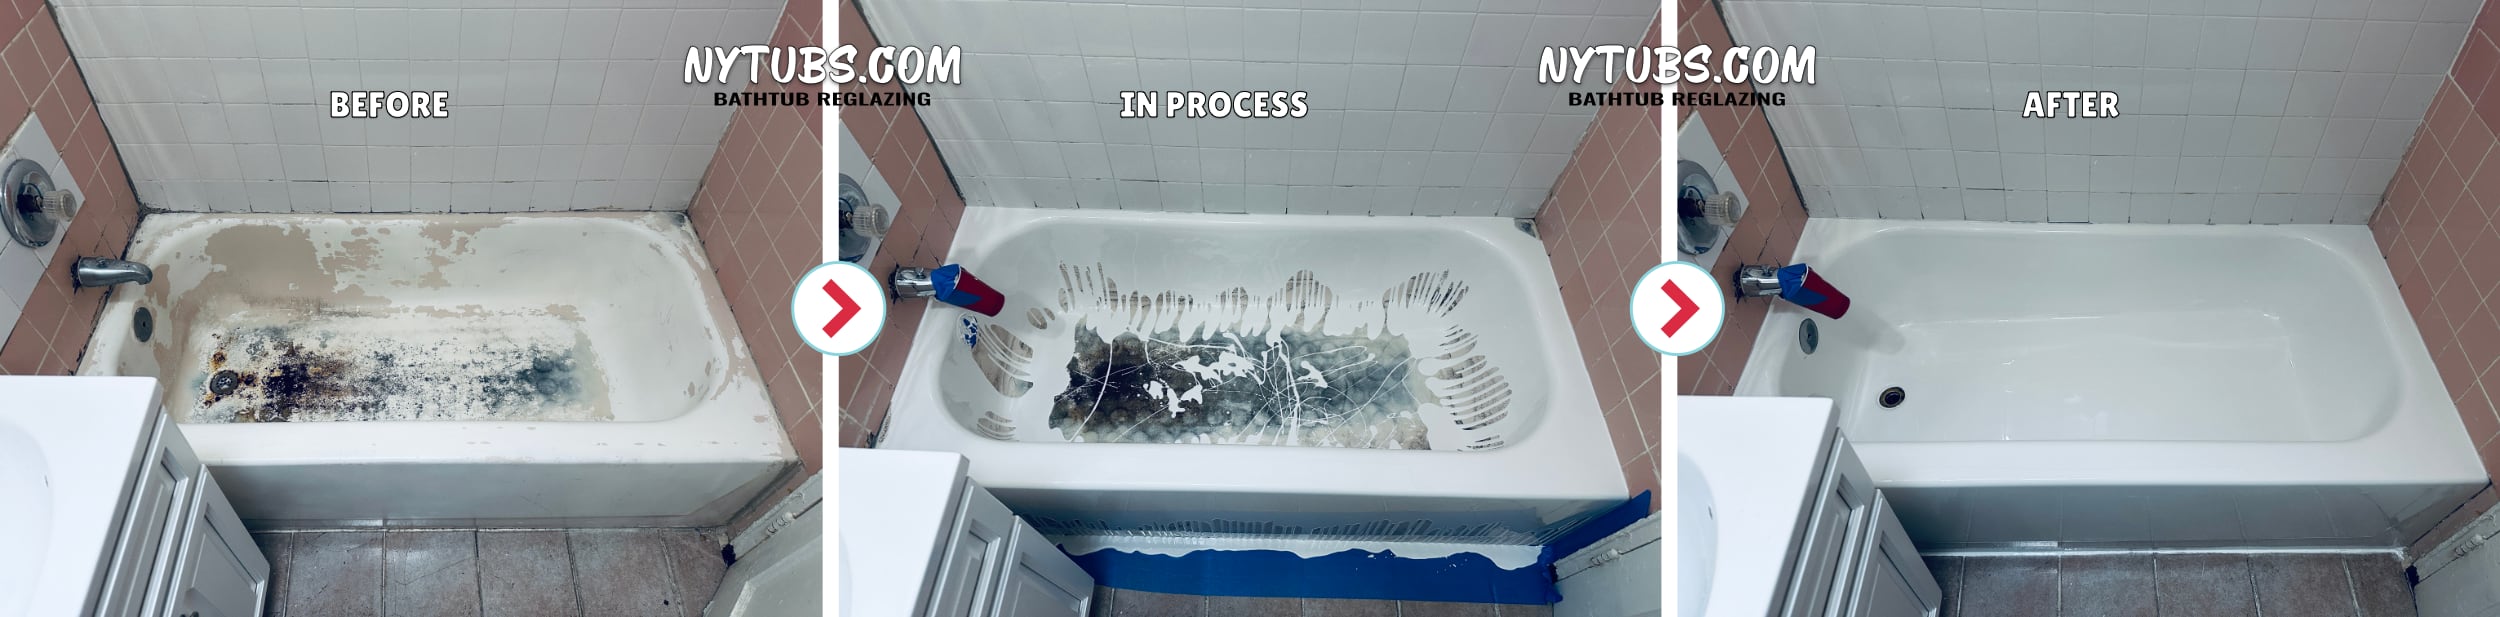
Removing the old paint
This step is the most crucial of all for an even, durable finish.
If the tub has been reglazed before, the top layer must come off completely, or the new coating will peel or chip.
Either way, the surface has to be sanded to a matte, uniform finish with no chips or sharp edges. Pay special attention to hard-to-reach spots — where the tub meets the wall and the rounded inner surface.
The best approach: alternate side-to-side and up-and-down passes with the sander. Once the coating is gone, switch to circular motions to smooth it. If you used an electric tool, do the final smoothing by hand.
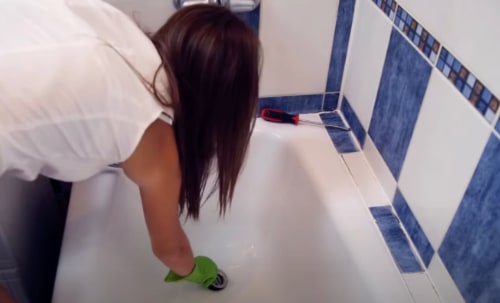
Surface cleaning and rinsing
Now remove the dust from every surface in the room, and shake it off your clothes so it doesn’t land in the glaze or spread through the home. Vacuum where you can, or wipe it up with a rag.
If there’s a cloud of dust in the bathroom, run the hot water for a bit and close the door — the steam clears it fast.
The final cleaning step is washing the tub thoroughly and rinsing it. If you use a detergent, rinse it completely — any residue left behind hurts the pour-on enamel’s adhesion.
Drying
After cleaning (and any steaming), all moisture has to go. Dry the tub and every nearby surface with a lint-free cloth, or use a hair dryer.
Pay special attention to the corners where the tub meets the wall — water collects there and can run down onto the fresh coating.
Wrap a plastic bag around the spout and tape it tight with packing or duct tape so no drops leak into the tub.
Final preparations
Mask off the tub edges where they meet the wall. If the drain can’t be removed, protect it with specialized masking paper and painter’s tape. Cover the floor with heavy-duty masking paper or drop cloths for full protection from drips.
The last surface step is degreasing. Pour 91% isopropyl alcohol on a lint-free rag and wipe the whole tub. Then take off your gloves and run your bare hands over the surface to pick up any leftover lint or debris that could affect adhesion or appearance.
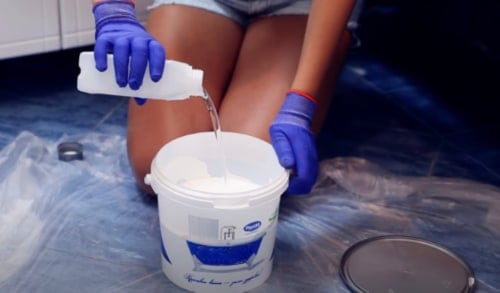
Material preparation
With the material at room temperature, mix it. Pour the hardener into the bucket of enamel and stir thoroughly — a 2-inch flat spatula works well.
Mix in a circular motion, scraping the sides and bottom. Don’t mix too vigorously or use a drill — that whips in bubbles that show up when you pour.
Follow the manufacturer’s timing carefully. Don’t eyeball it — set a timer for the required mixing time.
Let the mixture set for 5-10 minutes. While you wait, get a small plastic container ready for applying the enamel.
Application of the material
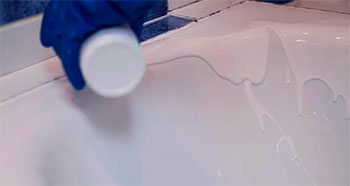
Set the bucket in the bottom of the tub and dip some into the small container. Start at the upper edges, pouring an even stream around the perimeter, left to right, until the edges are fully covered.
Then do the side walls in two rounds, again left to right. Cover the top half of the walls on the first round.
Make a second round for the bottom half of the walls, the same way. Watch for excess running toward the drain — scrape it away with a spatula so it doesn’t build up.
Finally, pour the rest straight from the bucket into the bottom of the tub and spread it in a criss-cross pattern with the spatula. The excess runs toward the drain, and the surface self-levels in about 10-15 minutes.
If any material drips outside the tub, remove it before it hardens — a rag or spatula works. Check again twice more at 10-15 minute intervals, since the material can keep flowing before it dries.
See the full pour-on reglazing process in action.
Congratulations — you’ve reglazed your tub. Now just wait about 24 hours (or the time the manufacturer suggests) for it to dry completely. Then reattach the drain assembly and the corner molding, and your like-new tub is ready to enjoy.
If after reading this the job feels like too much, call New York Tubs. Our technicians have done this for years and know every detail of bathtub refinishing. We can reglaze your tub start to finish in just 3-4 hours while you sit back and relax.
Rather leave it to the pros?
We reglaze cast iron and steel tubs across New York City — done in 3–4 hours, ready in about 24, backed by a 5-year warranty.
Frequently asked questions
Can you reglaze a bathtub yourself?
Yes — pour-on enamel kits are made for DIY. The hard part is prep: stripping the old finish to a smooth matte surface and degreasing properly. Skip those and the coating won’t bond. Done carefully, you get a long-lasting, professional-looking result.
What grit sandpaper do I use to reglaze a tub?
50-60 grit for steel tubs not reglazed before, 40-60 grit for steel or cast iron that’s been reglazed, and 60-80 grit for cast iron not reglazed before. An electric drill with a sanding disc speeds it up on metal tubs.
Why is removing the old coating so important?
It’s the most crucial step. If an old reglaze layer stays on, the new coating peels or chips. The surface must be sanded to a uniform matte finish with no chips or sharp edges — especially where the tub meets the wall and the rounded inner curve.
How long does pour-on enamel take to level and dry?
After pouring, the surface self-levels in about 10-15 minutes — check for drips a couple more times at those intervals. Then it needs about 24 hours (or the manufacturer’s time) to dry fully before you reattach the drain and use the tub.
What protective gear do I need to reglaze a tub?
Gloves and close-fitting clothes you don’t mind staining — the enamel stains permanently. Tie back or cover your hair, and wear a respirator while stripping the old enamel to protect your lungs.
Is DIY reglazing worth it, or should I hire a pro?
DIY saves roughly $150–200 in labor and suits handy people. But the prep is unforgiving, and mistakes show. If it feels like too much, a pro can reglaze the tub start to finish in 3–4 hours with a warranty.